
Hypertext Transfer Protocol (HTTP) is a set of standards that allow internet users to exchange website information. HTTP/2 is a major revision of the HTTP protocol providing improved performance in regard to loading times and network and server resource usage.
On our shared hosting platforms, all you'll need to do to enable HTTP/2 is ensure your site is configured to use an SSL certificate. However, the HTTP/2 Apache module may need to be installed on your VPS or Dedicated server.
Here we cover the steps to install this module through your Root WHM or via command line.
Related Articles
How to SSH into VPS or Dedicated Servers
Force HTTPS in .htaccess
Enable/Renew AutoSSL on Shared Server
Install HTTP/2 in WHM
IMPORTANT: This solution will require root access. If this needs to be obtained, follow the guide on requesting root access.
- Log into Root WHM
- Navigate to Software -> EasyApache 4

- Click the Customize button in the Currently Installed Packages section

- Select Apache Modules
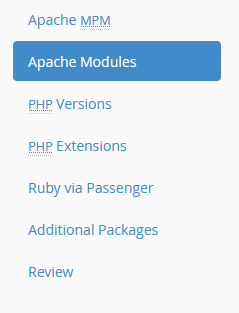
- Type "http2" into the search box

- Click the toggle button to the right of mod_http2 so that it turns blue and the word "Install" appears
- Select Review
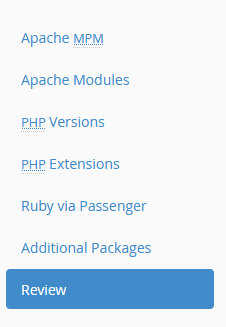
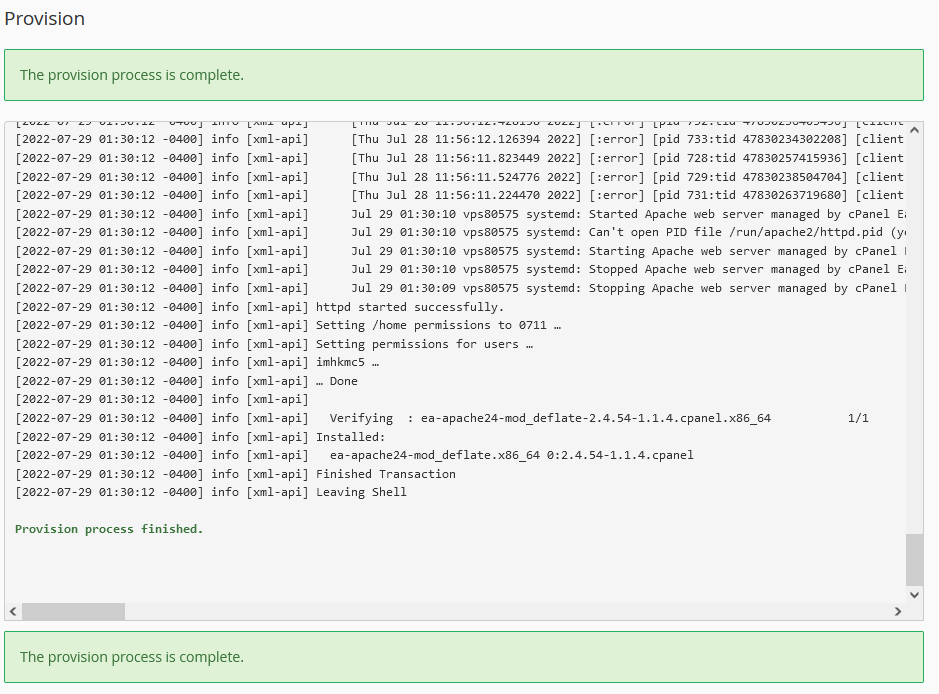
- Scroll to the bottom of the page and click on the Provision button

- Wait for the provisioning process to complete
Install HTTP/2 via Command Line
IMPORTANT: This solution will require root access. If this needs to be obtained, follow the guide on requesting root access.
NOTE: This is an alternative to the above solution and is not required if you've already completed the previous steps.
- Access the server via SSH as the root user or using the Terminal in your Root WHM
- Run the following command:
yum -y install ea-apache24-mod_http2
- Wait for the installation to complete

Comments
0 comments
Article is closed for comments.