
Imagick is a PHP extension for displaying, creating, converting, modifying, and editing images using the ImageMagick library. It is widely used by open-source applications, including WordPress, Drupal, phpBB, and many more.
One common issue you may experience if the Imagick extension is not installed is the Site Health check in your WordPress dashboard showing a warning like the following:
The optional module, Imagick, is not installed, or has been disabled.
While the Imagick extension is already installed on our shared hosting platforms, you may need to install it separately on your VPS or Dedicated server. Here we cover the steps to install Imagick either through your Root WHM or via command line.
Related Articles
How to SSH into VPS or Dedicated Servers
Provision EasyApache 4 Changes
Install in WHM
IMPORTANT: This solution will require root access. If this needs to be obtained, follow the guide on requesting root access.
- Log into Root WHM
- Navigate to Software -> EasyApache 4
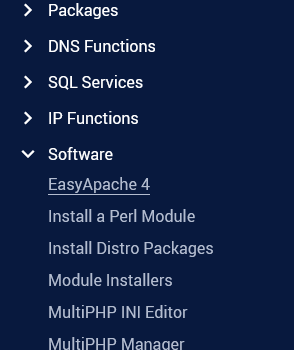
- Click the Customize button in the Currently Installed Packages section

- Select PHP Extensions
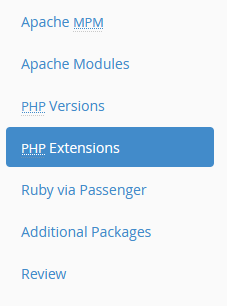
- Type "imagick" into the search box

- Click the toggle button to the right of the PHP version(s) for which you'd like to install Imagick so that it turns blue and the word "Install" appears
- Select Review

- Scroll to the bottom of the page and click on the Provision button

- Wait for the provisioning process to complete

Install via Command Line
IMPORTANT: This solution will require root access. If this needs to be obtained, follow the guide on requesting root access.
NOTE: This is an alternative to the above solution and is not required if you've already completed the previous steps.
- Access the server via SSH as the root user or using the Terminal in your Root WHM
- Run the following command to search for the specific package to install
yum search imagick
- Locate the appropriate package based on the PHP version your site is using

- Run the following command to install the package
yum -y install package_name
REPLACE: "package_name" with the name of the package determined in the previous step. For example:
yum -y install ea-php74-php-imagick.x86_64
- Wait for the installation to complete

Comments
0 comments
Article is closed for comments.