Here we will cover how to update the PHP INI settings including but not limited to:memory_limit, post_max_size, upload_max_filesize, max_input_time, max_input_vars, max_file_uploads, max_execution_time, display_errors, error_log, log_errors, and error_reporting.
We will cover using both the MultiPHP INI Editor in cPanel as well as manually updating the php.ini or .user.ini files to change these values.
Related Articles
WordPress Error: Memory Exhausted
Create Default PHP.INI
MultiPHP Manager/MultiPHP INI Editor Not Showing in cPanel
Modify the PHP INI Values with cPanel's MultiPHP INI Editor
IMPORTANT: NGINX servers have a separate timeout time that cannot be adjusted without Root access. For shared NGINX servers the execution time of 30 seconds is the default and can only be adjusted to a maximum of 90 seconds, This is set by the server and cannot be overridden by a PHP INI file.
- Log into cPanel
- Open the MultiPHP INI Editor, located in the Software section

- Basic Mode option
- Select the Basic Mode tab
- Select the domain from the dropdown menu
- Locate the setting that needs to be changed in the list below
- Change the setting(s) to the desired value(s)
- Click Apply at the bottom of the screen
- The PHP INI values should be updated now
- You can confirm the changes by creating and checking a phpinfo.php file
- Editor Mode option
- Select the Editor Mode tab
- Select the domain from the dropdown menu

- Enter the PHP INI settings manually here
EXAMPLE:
display_errors = Off
TIP: The above example can be used to increase the most commonly faulted PHP INI settings all at once. Simply copy and paste it into the Editor Mode tab.
error_log = FILEPATH HERE/error_log
log_errors = On
error_reporting = E_ALL
max_execution_time = 180
max_input_time = 300
max_input_vars = 4000
memory_limit = 256M
post_max_size = 128M
upload_max_filesize = 128M - Click Save on the right side of the screen

- The PHP INI values should be updated now
- You can confirm the changes by creating and checking a phpinfo.php file
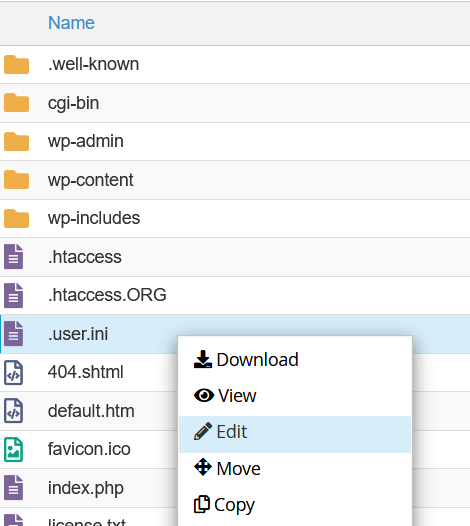
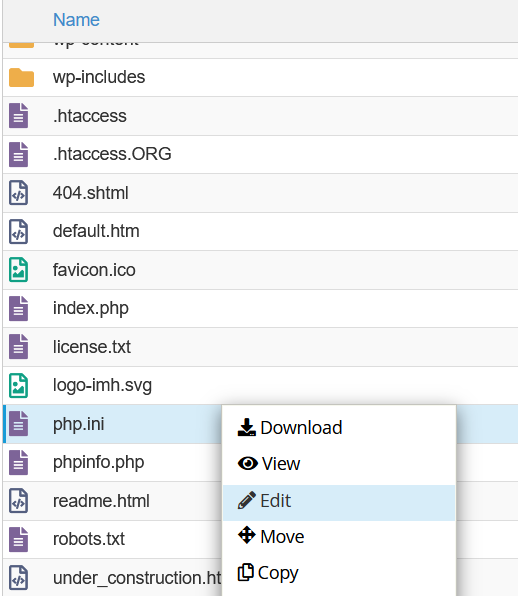
Modify the PHP INI Values by Manually Editing the php.ini or .user.ini File
IMPORTANT: NGINX servers have a separate timeout time that cannot be adjusted without Root access. For shared NGINX servers the execution time of 30 seconds is the default and can only be adjusted to a maximum of 90 seconds, This is set by the server and cannot be overridden by a PHP INI file.
- Log into cPanel
- Open the File Manager, located in the Files section

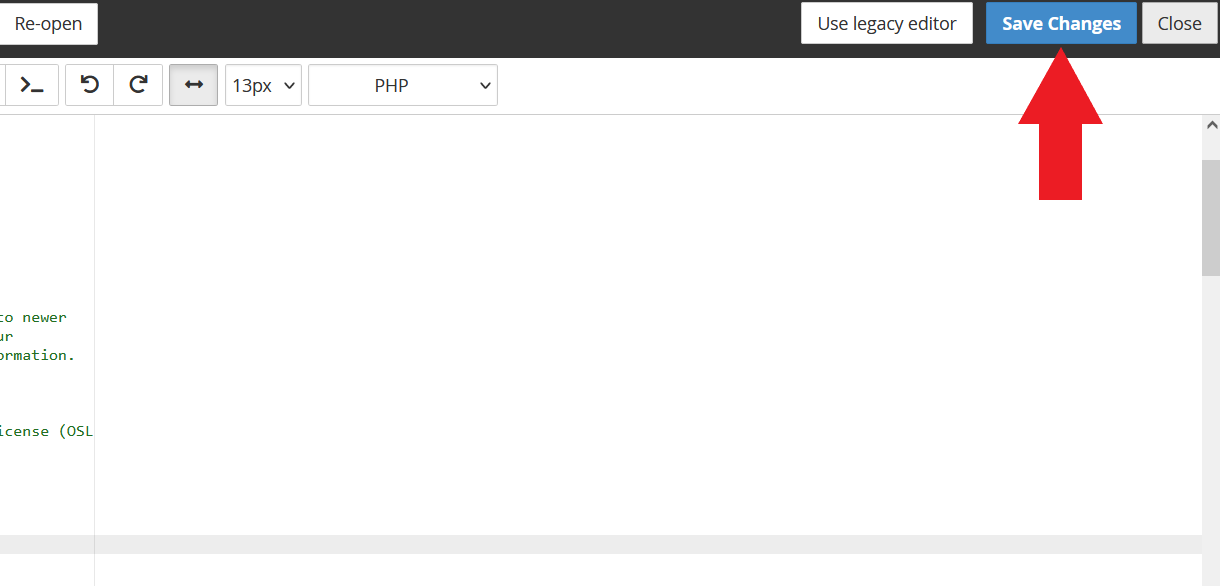
-
- Enter the desired settings in the file
EXAMPLE:
display_errors = Off
TIP: The above example can be used to increase the most commonly faulted PHP INI settings all at once. Simply copy and paste it into the .user.ini file.
error_log = FILEPATH HERE/error_log
log_errors = On
error_reporting = E_ALL
max_execution_time = 180
max_input_time = 300
max_input_vars = 4000
memory_limit = 256M
post_max_size = 128M
upload_max_filesize = 128M - The PHP INI values should be updated now
- You can confirm the changes by creating and checking a phpinfo.php file
- Enter the desired settings in the file
EXAMPLE:
display_errors = Off
TIP: The above example can be used to increase the most commonly faulted PHP INI settings all at once. Simply copy and paste it into the php.ini file.
error_log = FILEPATH HERE/error_log
log_errors = On
error_reporting = E_ALL
max_execution_time = 180
max_input_time = 300
max_input_vars = 4000
memory_limit = 256M
post_max_size = 128M
upload_max_filesize = 128M - The PHP INI values should be updated now
- You can confirm the changes by creating and checking a phpinfo.php file


Comments
0 comments
Article is closed for comments.