Here we will cover how to enable directory privacy (password protection) in cPanel for a domain's document root, subdirectory, or another folder. This will ensure that a password is required to view the specified folder or website, which serves as a way to block public access to said files.
Related Articles
Block User Agent with .htaccess
Block or Allow Specific IP via .htaccess
Enable Directory Privacy
- Log into cPanel
- Click on Directory Privacy within cPanel under the Files section

- Click Edit to the right of the folder that needs to be protected
NOTE: Within Directory privacy, clicking on the folder name will expand that folder and show subdirectories within it.
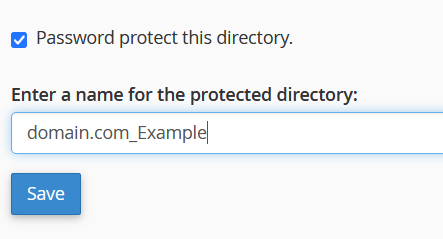
- Check the box that says Password protect this directory
- Enter a name for the protected directory
NOTE: The name chosen here will not change the name of the directory. It will only be included in the prompt when the browser asks the user to enter the username and password.
- Click Save
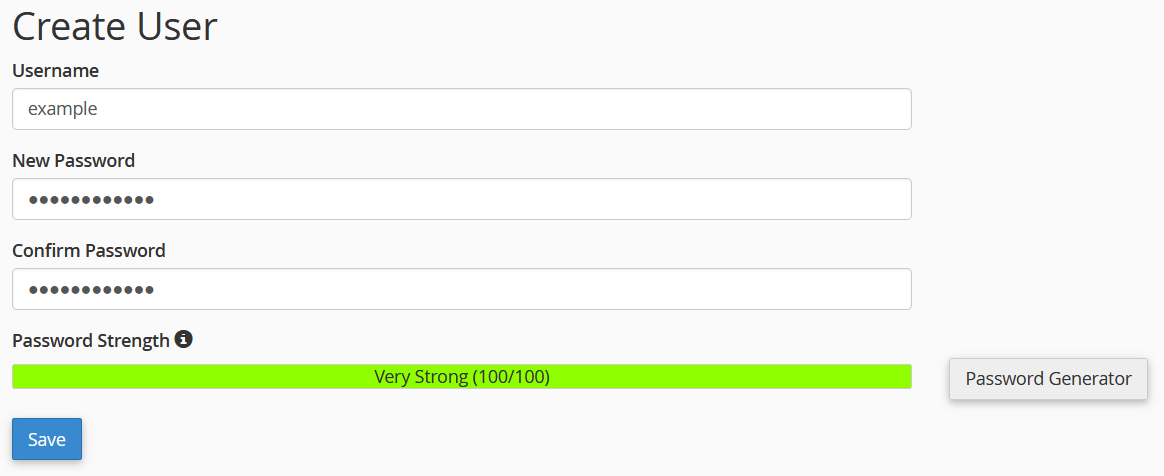
- Scroll down and add a user under the Create User section
- Select a Username
- Choose a strong password
- Repeat the password
- Click Save

- After clicking Save, A success message should show indicating the password has been added: Success: The system has successfully set the password for user
- Navigate to the directory or website in a web browser to test
- Use the credentials that were created in step 7 to access the website/folder
NOTE: Directory Privacy creates an .htaccess rule for the directory it is enabled on. If there are any issues, check the .htaccess file for the redirect, or rename the file to disable it. Keep in mind that it can also be disabled through the Directory Privacy page in cPanel.


Comments
0 comments
Article is closed for comments.